
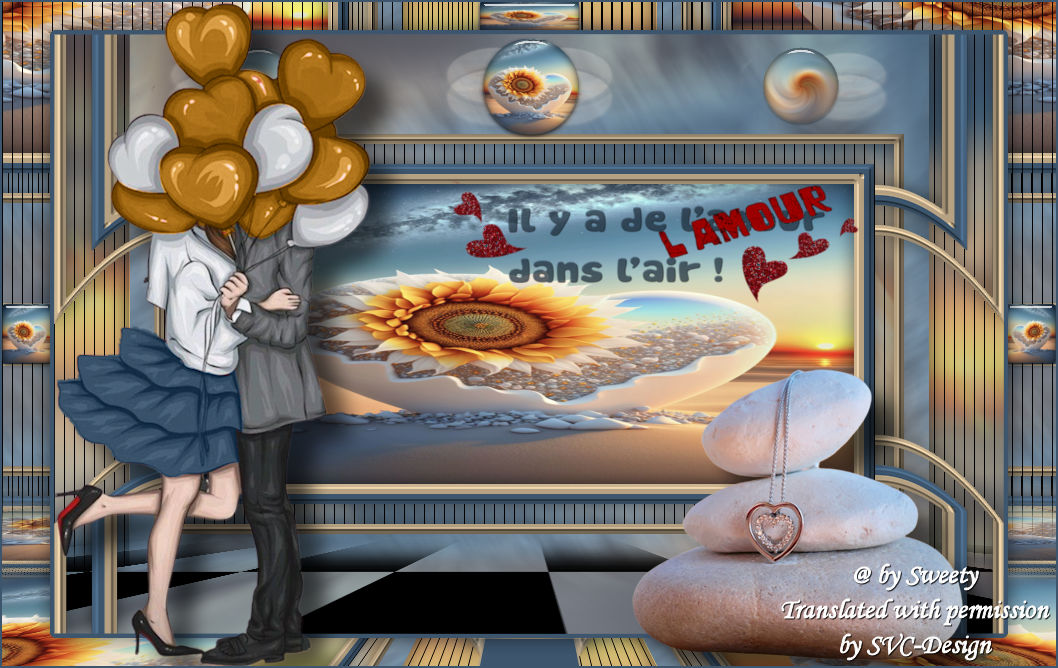
This lesson is made with PSPX9
But is good with other versions.
© by SvC-Design

Materialen Download :
Here
******************************************************************
Materials:
DECO PERSO 1 190 TUTORIEL 190 OCTOBRE 2022 SWEETY.png
DECO PERSO 2 190 TUTORIEL 190 OCTOBRE 2022 SWEETY.png
DECO PERSO 3 190 TUTORIEL 190 OCTOBRE 2022 SWEETY.png
DECO OMBRE PORTEE ETAPE 6 TUTORIEL 190 OCTOBRE 2022 SWEETY.png
WORDART PNG png.png
PALETTE COULEURS VERSION 1 190 .png
MA SIGNATURE pspimage.pspimage
SELECTION 1 190.PspSelection
SELECTION 2 190.PspSelection
SELECTION 3 190.PspSelection
SELECTION 4 190.PspSelection
6f1f8cd72af3a5040ed8db79d38133eb.jpg
JANVIER 2023 PENDENTIF COEUR 14 01 23 SWEETY.png
JANVIER 2023 ROMEO ET JULIETTE 13 01 23 SWEETY.png
******************************************************************
Plugin:
Filter – AP 01 [Innovations] – Lines – Silverlining – Line options vertical
Filter - L&K's – landksiteofFlowers - L en K’s Pia
Filter - MuRa's Meister - Perspective tiling
******************************************************************
color palette
:

******************************************************************
methode
When using other tubes and colors, the mixing mode and / or layer coverage may differ
******************************************************************
General Preparations:
First install your filters for your PSP!
Masks: Save to your mask folder in PSP, unless noted otherwise
Texture & Pattern: Save to your Texture Folder in PSP
Selections: Save to your folder Selections in PSP
Open your tubes in PSP
******************************************************************
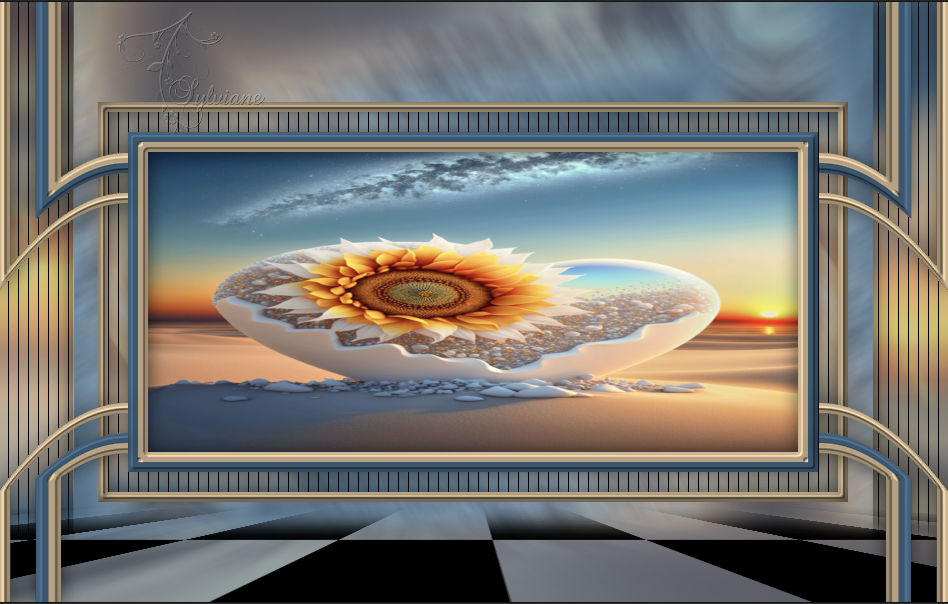
We will start - Have fun!
Remember to save your work on a regular basis
******************************************************************
1.
Choose a landscape or fractal image that you like. Take two colors:
Foreground (AVP): Dark / Background (ARP): Light
Open a new transparent image of 950x600 px
Selection – select all
Open 6f1f8cd72af3a5040ed8db79d38133eb.jpg
Edit - copy
Edit – Paste into the selection
Selection – select none
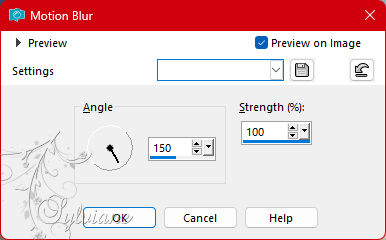
Adjust - blur - motion blur
Layers - duplicate
Image – mirror – mirror vertical
Image - Mirror – mirror Horizontal
Opacity : 50%
Layers – Merge – Merge visible layers
2.
Layers - duplicate
Selection – select all
Selection – modify – contract with 100 px
Selections - Invert
Selections – Promote selections to layer
keep the selection active
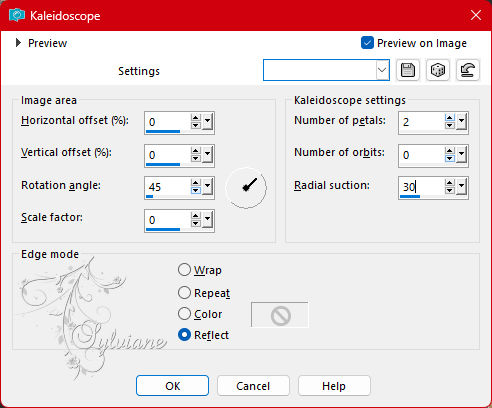
Effects – Reflection Effects – Kaleidoscope
Effects – 3D Effects – Drop Shadow
0 / 0 / 60 / 30 – color#000000
Selections - Invert
keep selection active...
3.
Layers – new raster layer
Layers – arrange – down
Fill the selection with the color AVP.
Selection – Modify – Contract with 10px
Erase or delete on the keyboard.
Selection – Modify – Contract with 20px
Fill the selection with ARP color or a 3rd color
Selection – Modify – Contract with 10px
Erase or delete on the keyboard.
Fill in the selection with the color AVP
Selection – Modify – Contract with 10px
Erase or delete on the keyboard.
Layers – new raster layer
Layers – arrange – down
Open 6f1f8cd72af3a5040ed8db79d38133eb.jpg
Edit - copy
Edit – Paste into the selection
Invert selection
Effects – 3D Effects – Drop Shadow
0 / 0 / 60 / 30 – color#000000
Selection – select none
4.
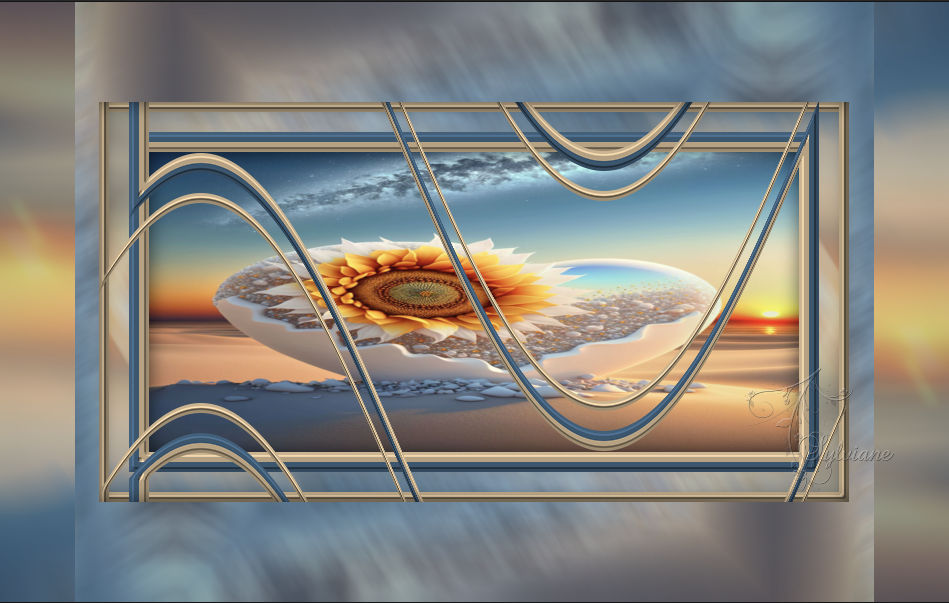
We have this:


We are on Raster 2
Activate Raster 1
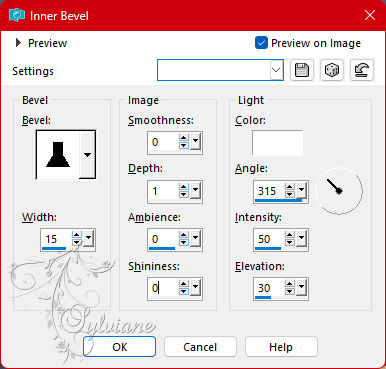
Effects – 3D Effects – Inner Bevel
Layers - duplicate
Effects – Distortion Effects – Wave
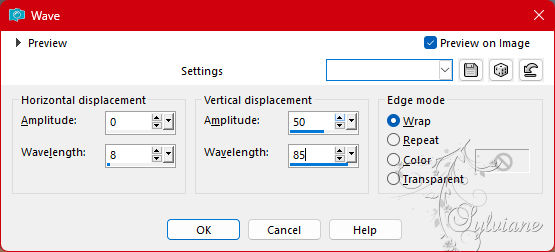
You should have this on *Raster Copy 1* :
5.
Edit - cut (The image will be saved).
Selection – select all
Edit – Paste into the selection
Selection – select none
Selection – Custom Selection
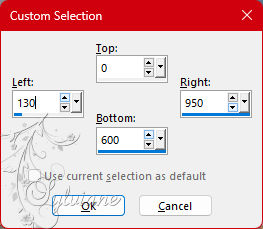
Erase or delete on the keyboard.
Selection – select none
Effects – reflection effects – rotating mirror
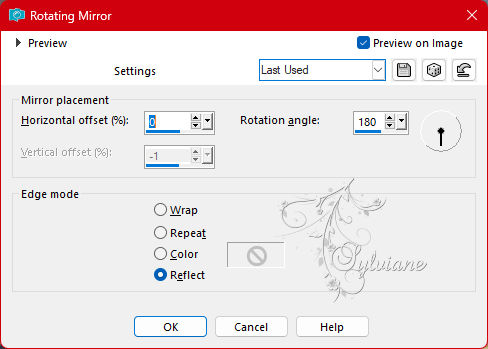
Here's what we get on *Raster Copy 1*:
6.
Go to the layer just below (Raster 1).
Layers - merge - merge down
Effects – 3D Effects – Drop Shadow
0 / 0 / 60 / 30 – color#000000
Open DECO OMBRE PORTEE ETAPE 6 TUTORILE 190 OCTOBRE 2022 SWEETY.png
Edit – copy
Edit - paste as new layer
Effects – 3D Effects – Drop Shadow
0 / 0 / 60 / 30 – color#000000
Do not move it in place
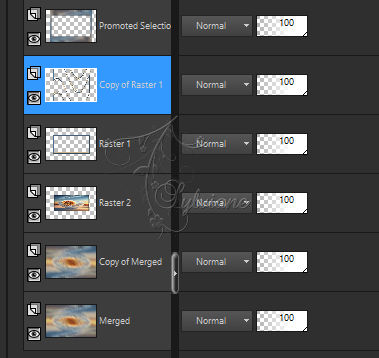
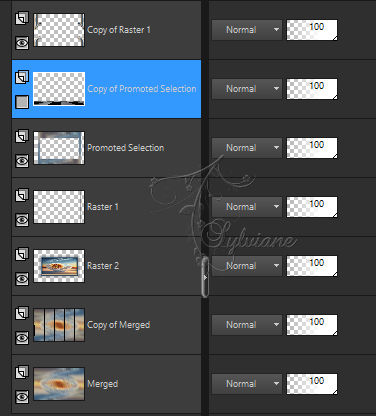
Activate Copy of Merged
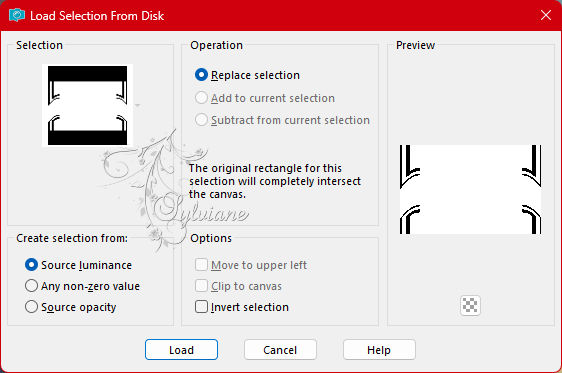
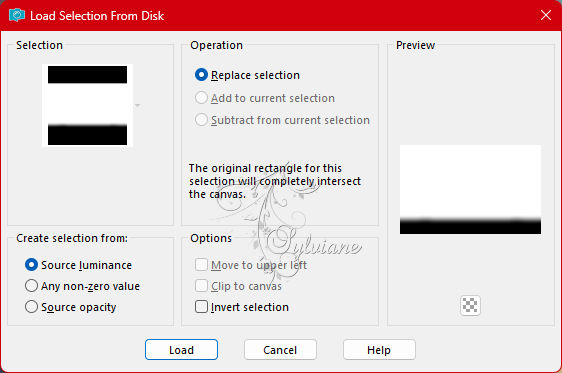
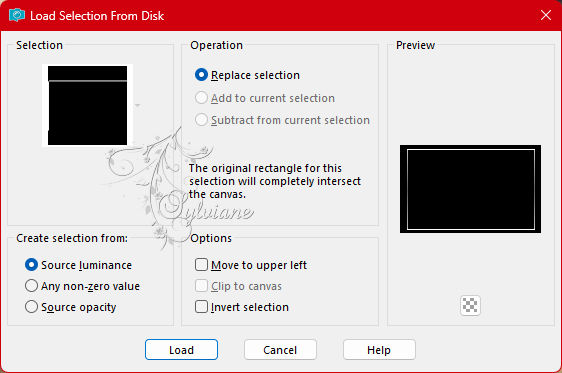
Selection - Selection Load/Save - Selection Load from Disk - SELECTION 1 190.PspSelection
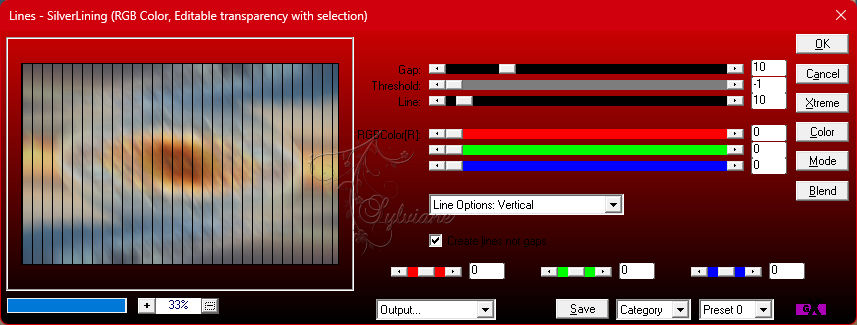
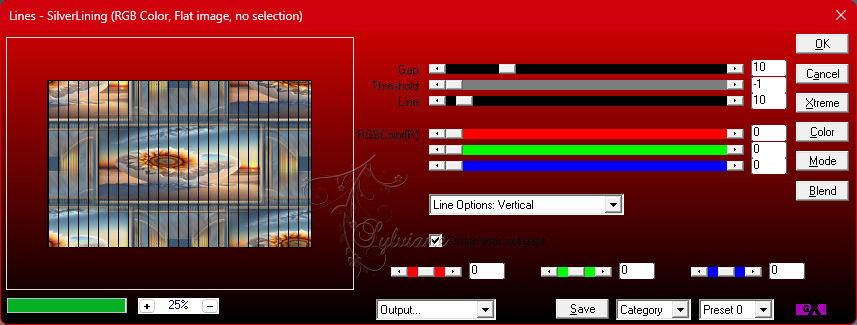
Filter – AP 01 [Innovations] – Lines – Silverlining – Line options vertical
Selection – select none
7.
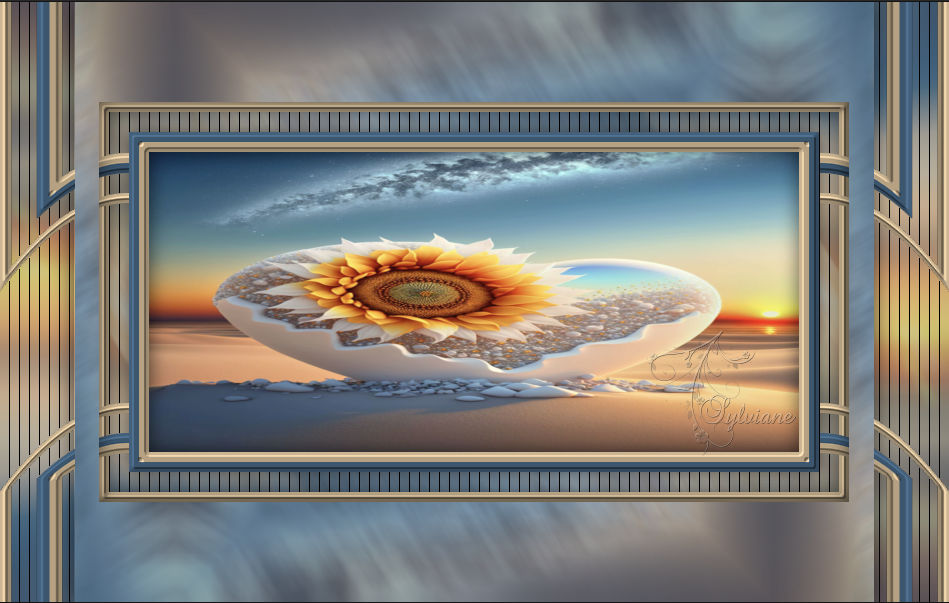
Did is we now have now
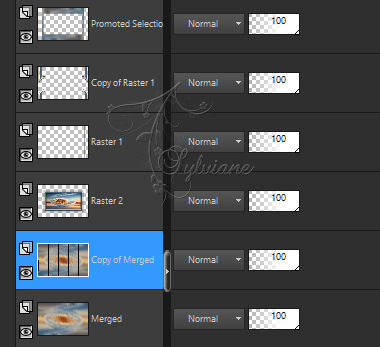
Activate Copy of Raster 1
Effects – 3D Effects – Drop Shadow
0 / 0 / 60 / 30 – color#000000
Layers – Arrange – Bring to Front
8.
Actiavte Promoted Selection
Layers - duplicate
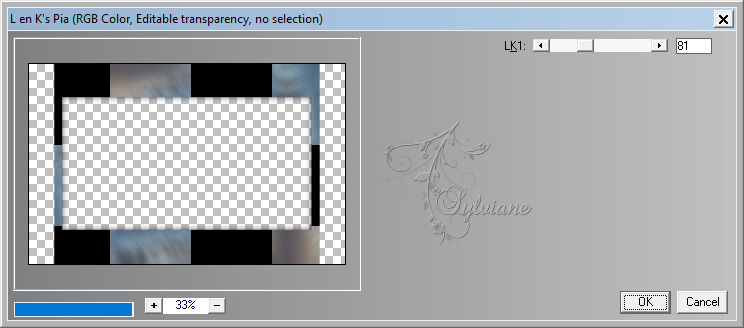
Filter - L&K's – landksiteofFlowers - L en K’s Pia - default:
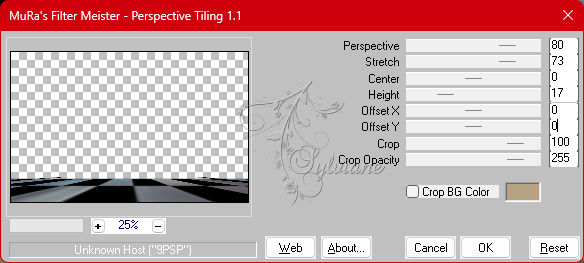
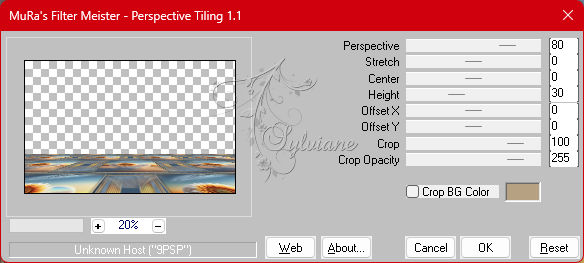
Filter - MuRa's Meister - Perspective tiling
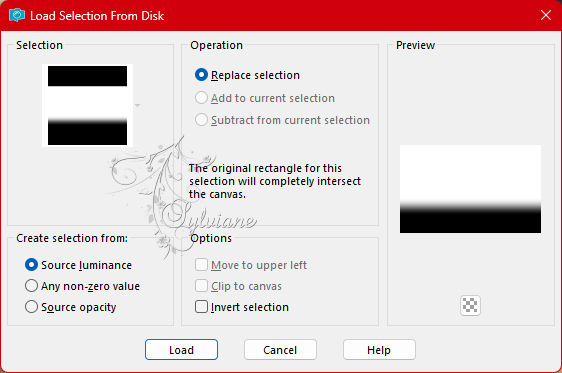
Selection - Selection Load/Save - Selection Load from disk - SELECTION 2 190.PspSelection
Edit==> delete or delete on keyboard +/- 7 times
Selection – select none
9.
At this point we get this if you followed me correctly:
Edit – copy special – merged Copy
Edit – paste as a new image
Put him aside for a moment
At our work in short and on the floor layer (Copy of selection transformed) ...
Close the eyes of this layer (transformed selection copy)
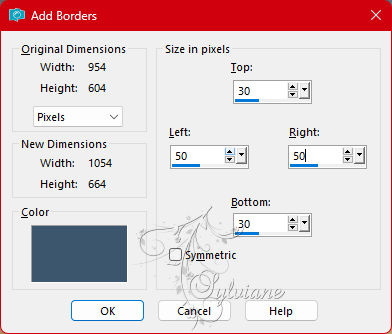
Image – Add Borders – Symmetrical – 2px - add colors AVP or ARP
10.
Image - Add Borders - AVP Color:
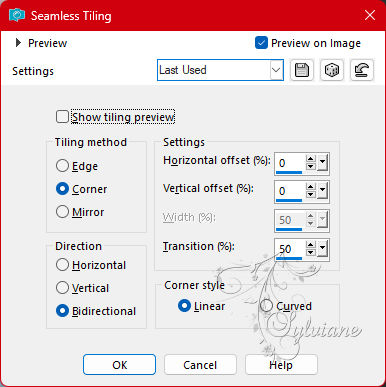
Effects - Image Effects - Seamless Repeats - default
Open image that you put step 9 aside
Edit – copy
Edit - paste as new layer
Selection – Selection Load/Save – Selection Load from disk - SELECTION3 190.PspSelection
Fill with ARP or AVP color
Selection – select none
Effects – 3D Effects – Drop Shadow
0 / 0 / 60 / 30 – color#000000
11.
Activate background
Layers - duplicate
Filter - MuRa's Filter Meister - Perspective tiling
Selection - Selection Load/Save - Selection Load from disk - SELECTION 4 190.PspSelection
Edit - delete or delete on keyboard +/- 10 times
Selection – select none
12.
Open DECO PERSO 1 190 TUTORILE 190 OCTOBRE 2022 SWEETY.png
Edit – copy
Edit - paste as new layer
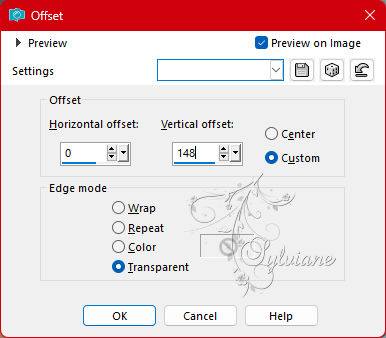
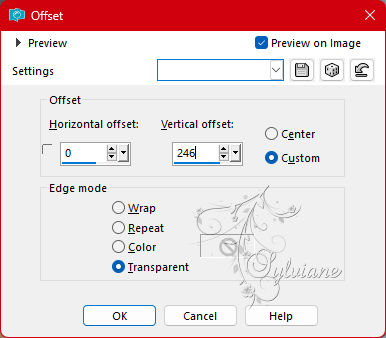
Effects – Image Effects – Offset
Activate Raster 1
Open DECO PERSO 2 190 TUTORILE 190 OCTOBRE 2022 SWEETY.png
Edit – copy
Edit - paste as new layer
We don't see it, it's normal...
Effects – Image Effects – Offset
Mode of this layer to *screen* or others of your choice and opacity to +/- 60%
Open DECO PERSO 3 190 TUTORILE 190 OCTOBRE 2022 SWEETY.png
Edit – copy
Edit - paste as new layer
Effects – Image Effects – Offset
Activate the bottom layer
Filter – AP 01 [Innovations] – Lines – Silverlining – Line options vertical
13.
Open JANVIER 2023 BAISER VOLE 14 01 23 SWEETY.png
Edit – copy
Edit - paste as new layer
Layers – arrange – bring to top
Image – Resize – 80%.
Place wherever you want.
Effects – 3D Effects – Drop Shadow
22/24/60/30 - #000000
Open JANVIER 2023 PENDENTIF COEUR 14 01 23 SWEETY.png
Edit – copy
Edit - paste as new layer
Image – Resize – 80%.
Place wherever you want.
Effects – 3D Effects – Drop Shadow
22/24/60/30 - #000000
Open WORDART PNG png.png
Edit – copy
Edit - paste as new layer
Place wherever you want.
Blendmode: your choice
14.
Image – Add Borders – Symmetrical – 2px - AVP or ARP of your choice
put your watermark on it and that of the author
Layers - merge – merge all layers
Resize to 950 pixels
Save as jpeg
Back
Copyright Translation 2023 by SvC-Design